
Enhancing Your Home Studio: DIY Acoustic Treatment Tips


Understanding Acoustic Treatment
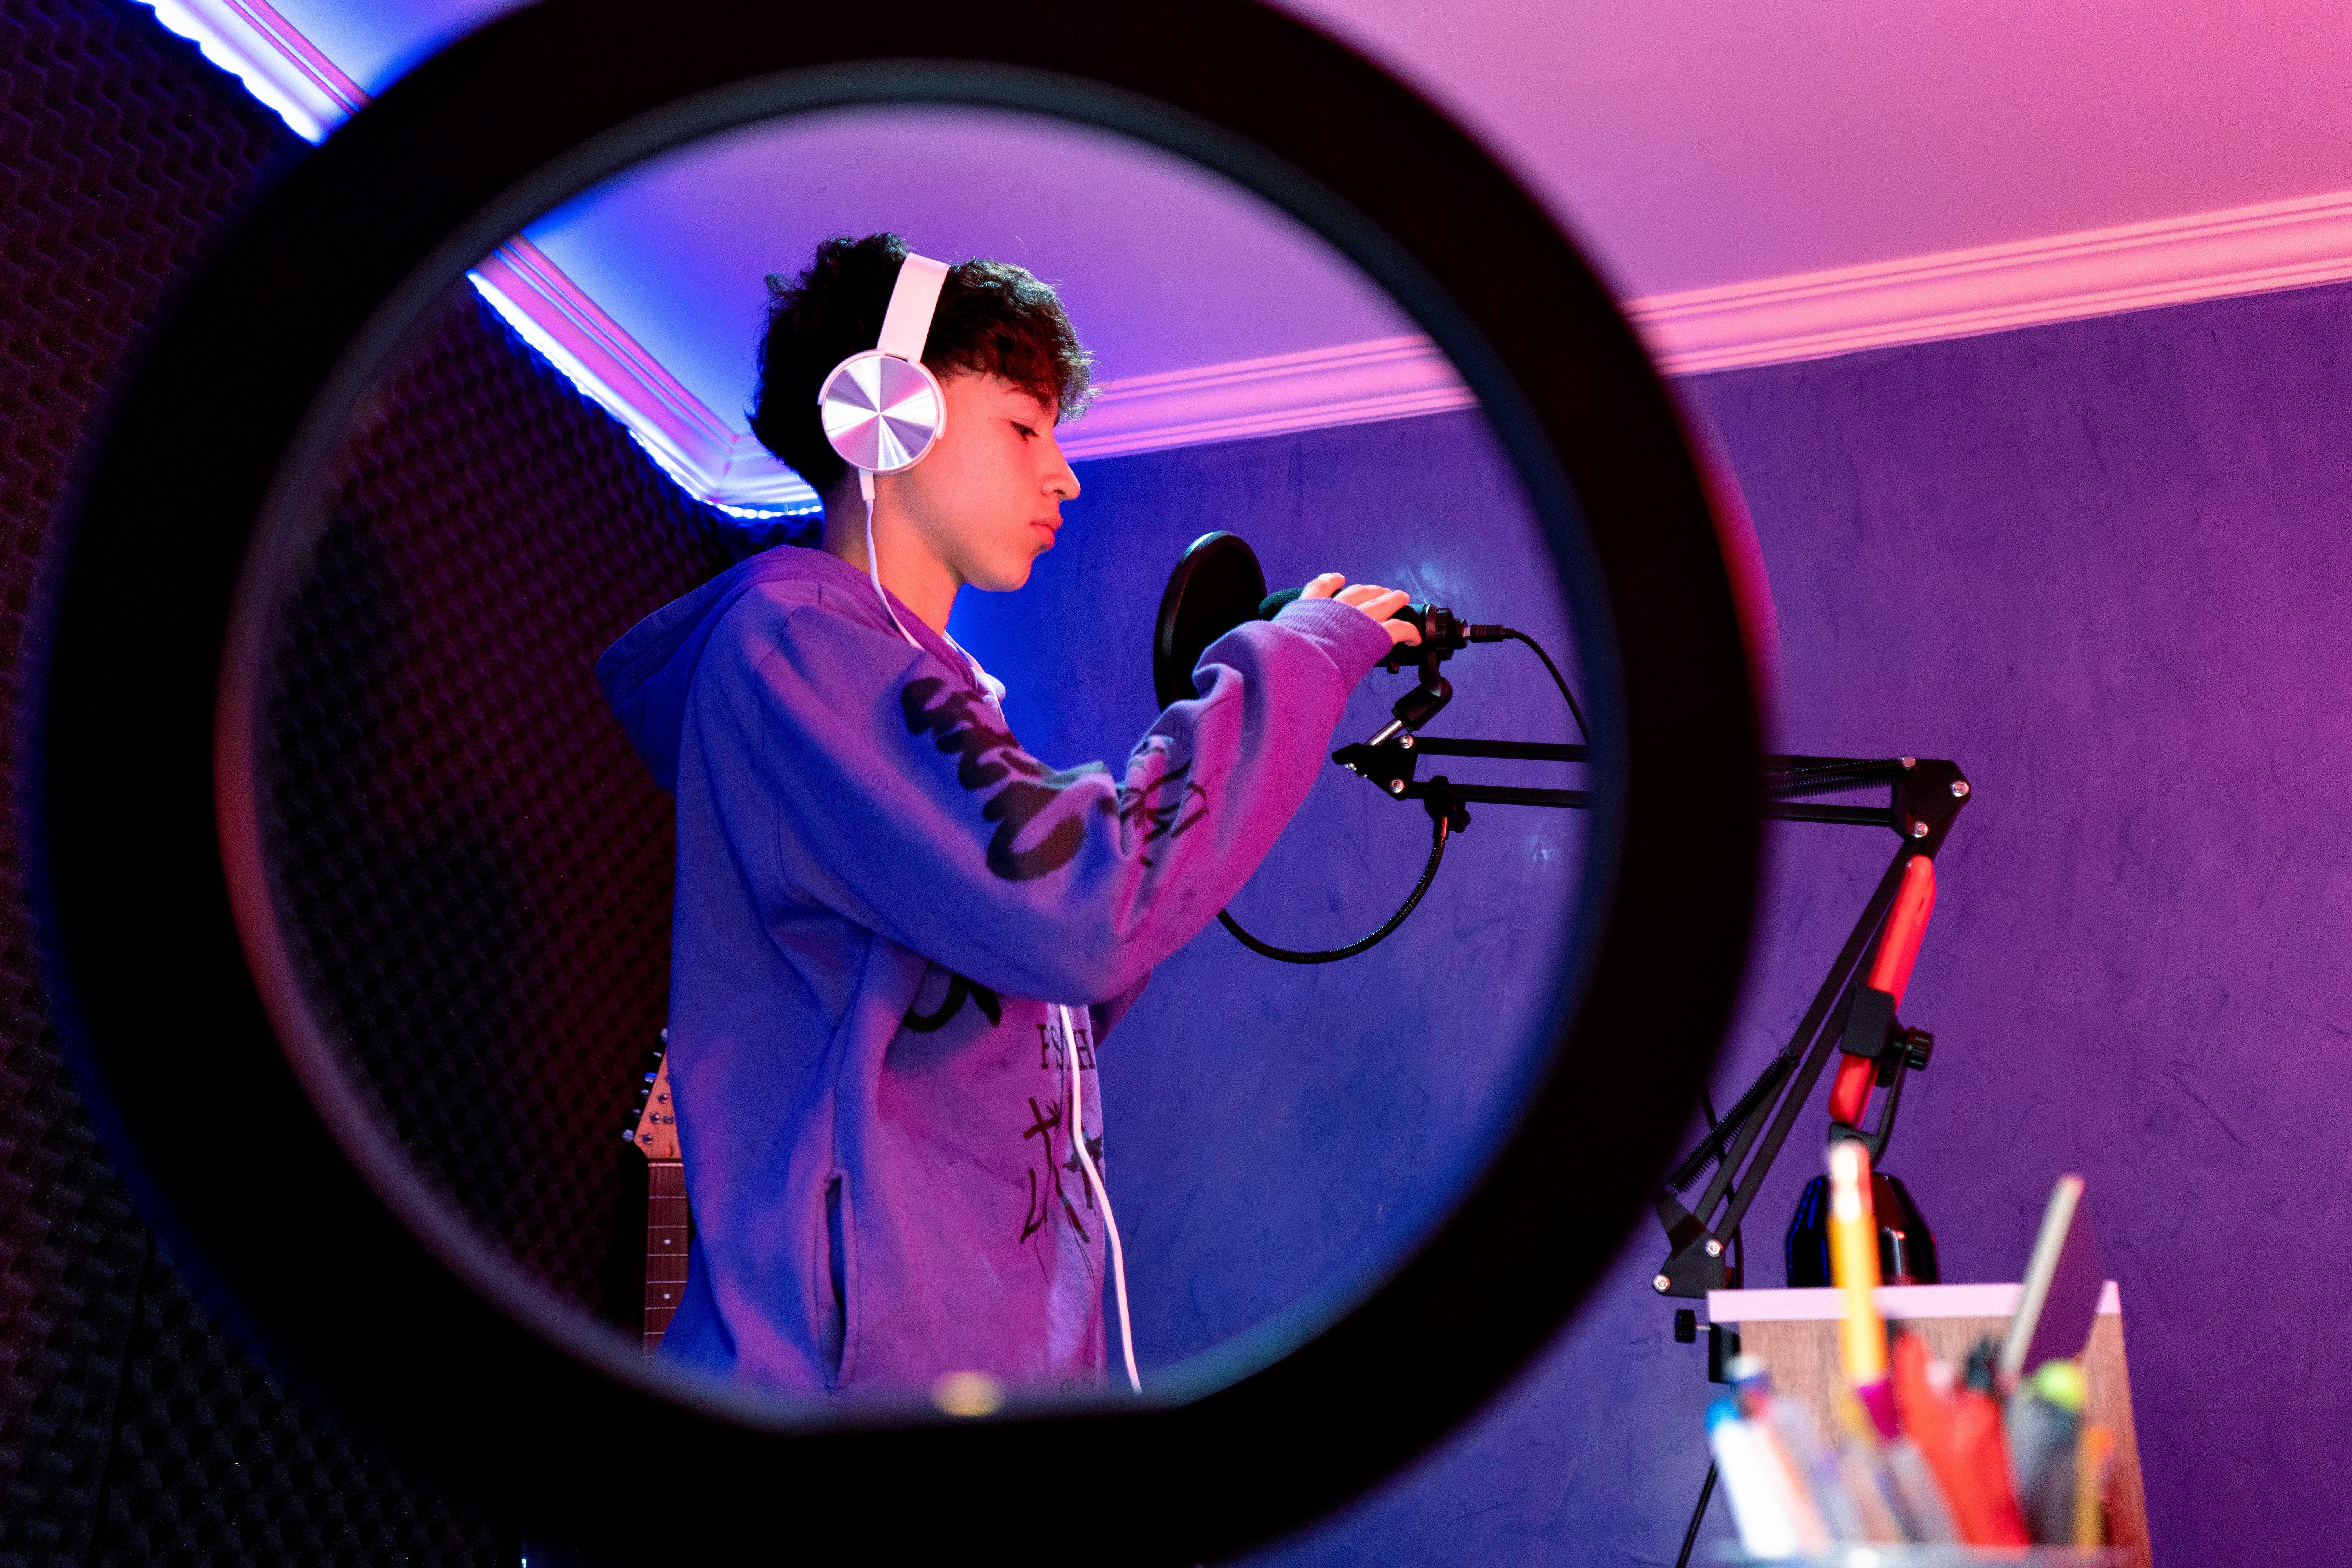
Creating a home studio is an exciting endeavor, but achieving optimal sound quality requires more than just high-end equipment. Understanding the basics of acoustic treatment is essential to transform your space into a professional-grade studio. Acoustic treatment involves controlling how sound waves interact within your room, reducing echoes and background noise to enhance audio clarity.
While it may sound complex, you can significantly improve your audio environment with some simple DIY solutions. Whether you're a musician, podcaster, or content creator, effective acoustic treatment can dramatically elevate the quality of your recordings.
Identifying Problem Areas
Before diving into solutions, it's crucial to identify the problem areas in your studio. Typically, these are surfaces where sound waves bounce off and cause unwanted reflections. Start by clapping your hands in different parts of the room and listening for echoes or reverberations. These are the spots you'll want to focus on for treatment.
Consider the shape and contents of your room as well. Large, empty rooms with hard surfaces are more prone to sound issues than smaller, furnished spaces. Take note of windows, doors, and any other surfaces that might contribute to poor acoustics.
DIY Acoustic Panels
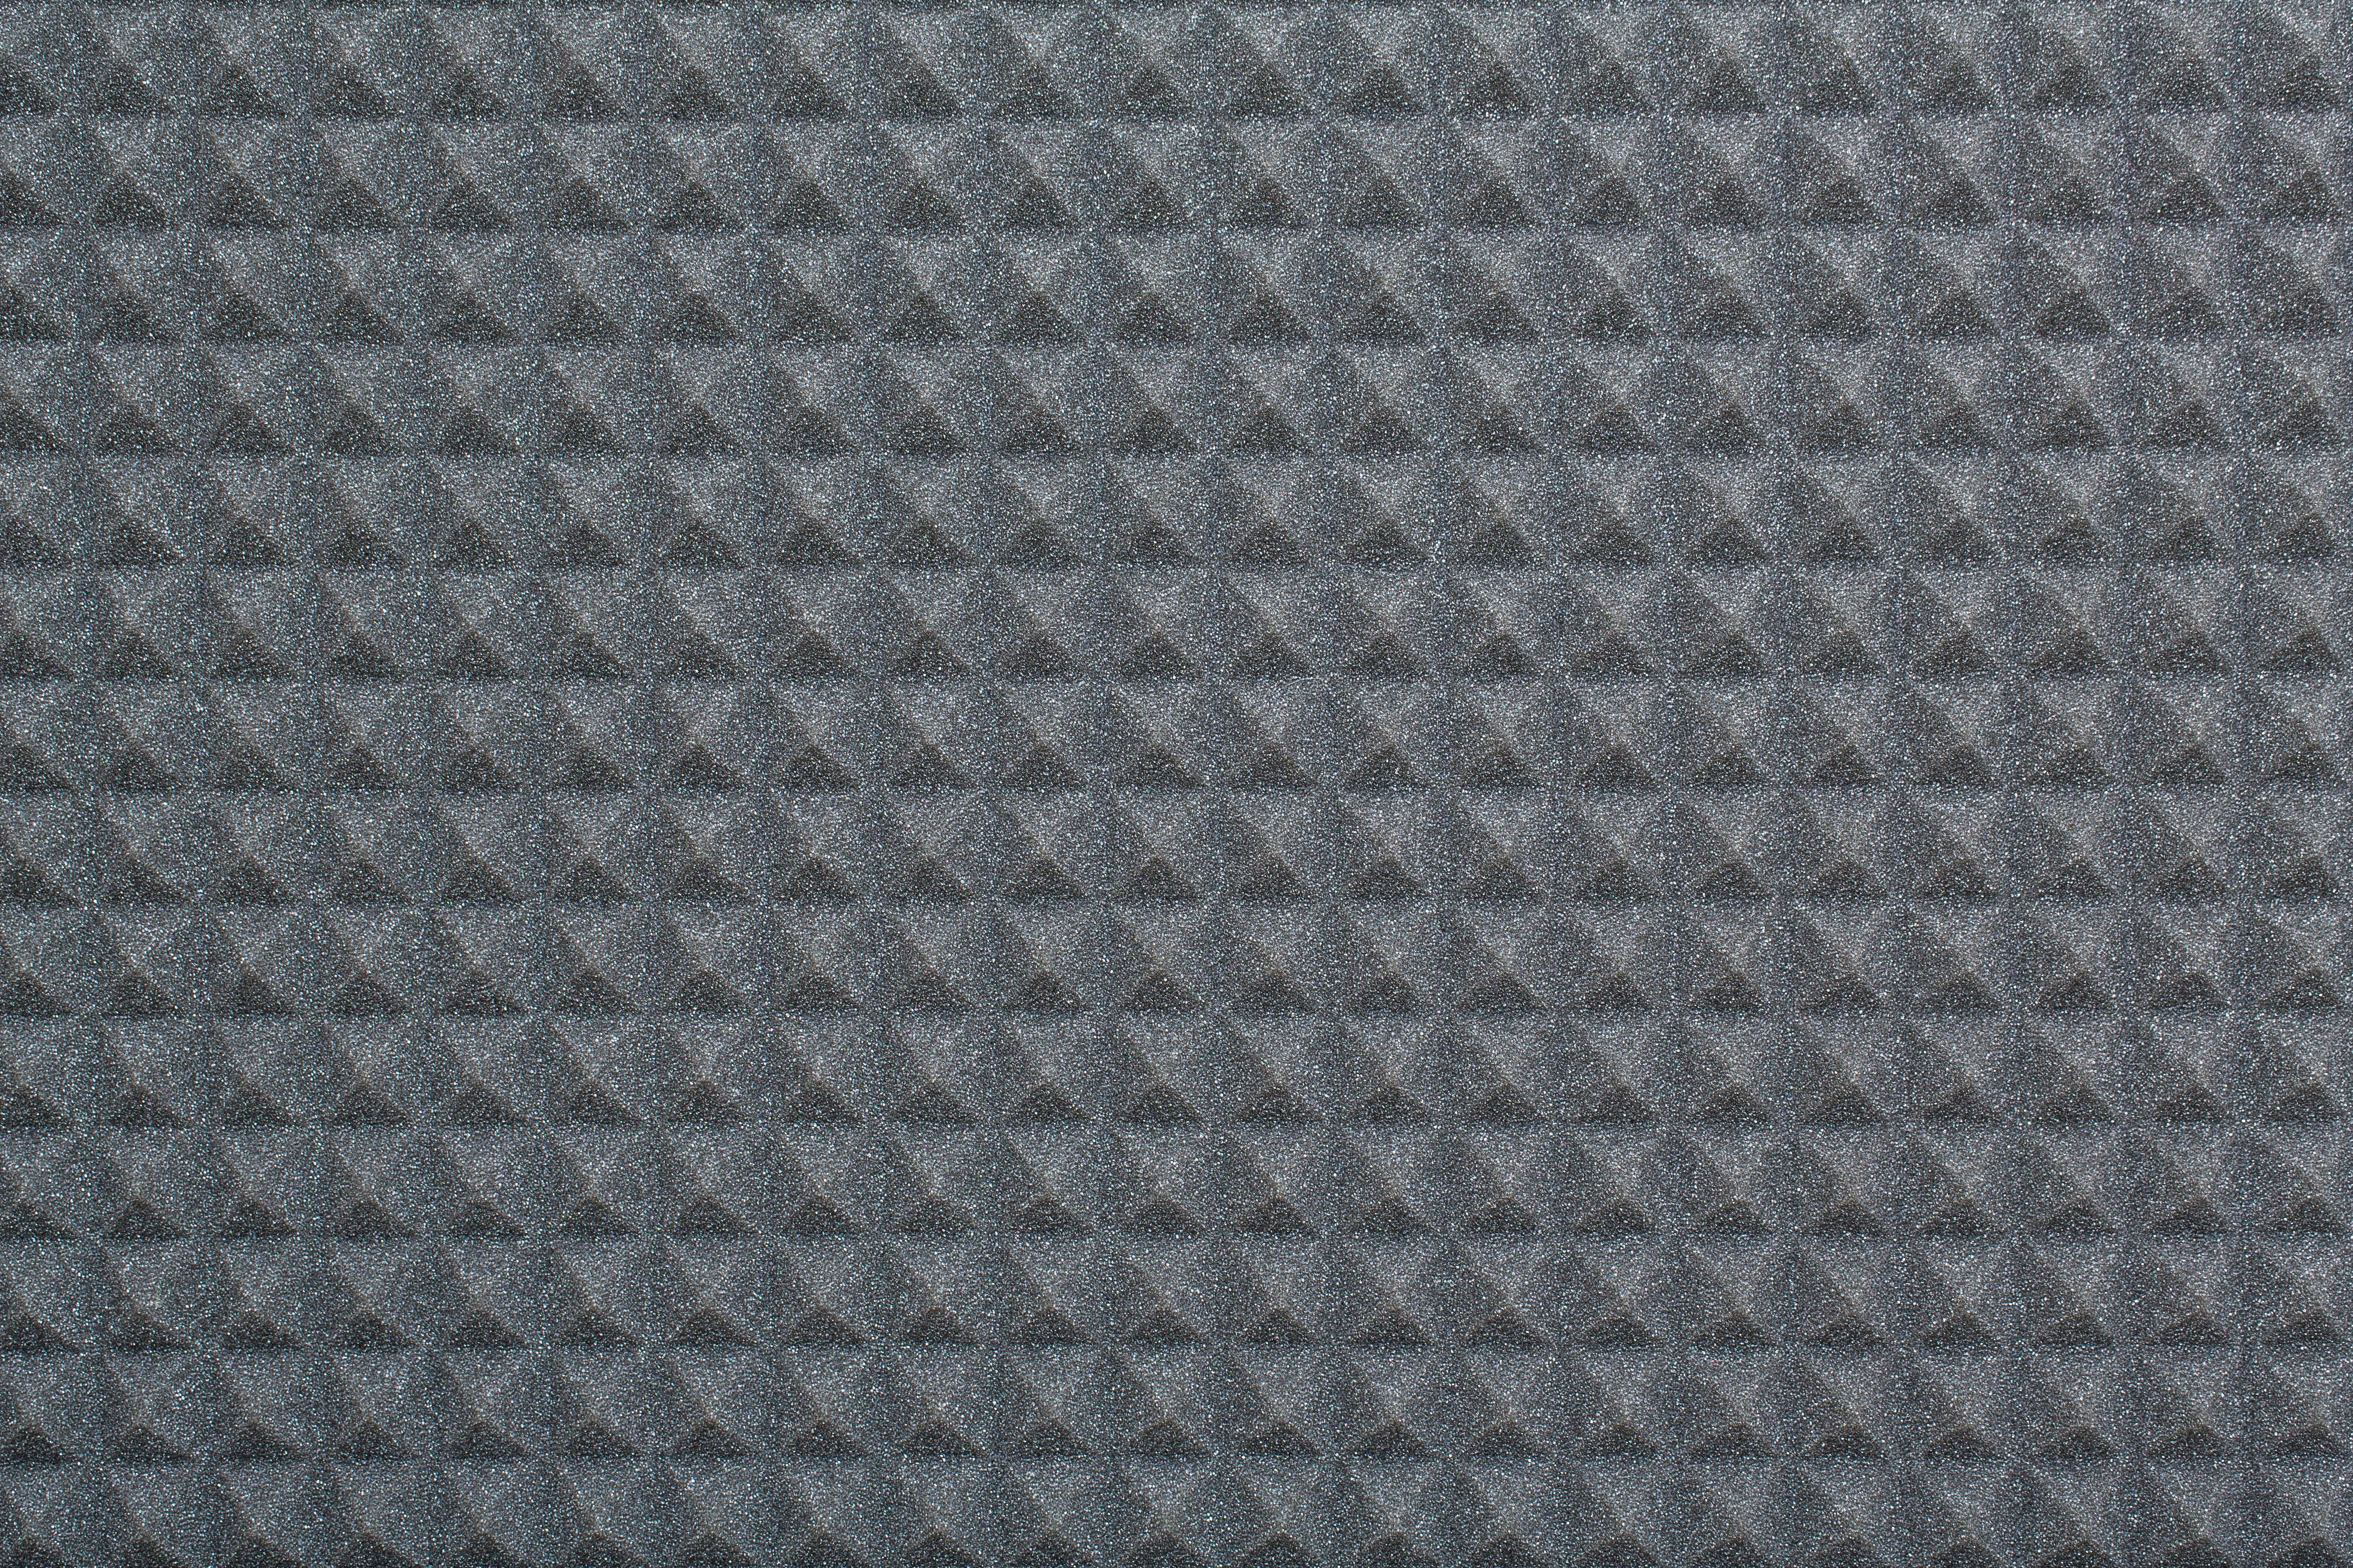
One of the most effective ways to improve your studio's sound is by using acoustic panels. While commercial options are available, creating your own can be a cost-effective and rewarding project. To make DIY acoustic panels, you'll need materials like wooden frames, fabric, and insulation material such as rock wool or fiberglass.
- Build a wooden frame to your desired size.
- Fill the frame with the insulation material.
- Wrap the frame with breathable fabric and secure it in place.
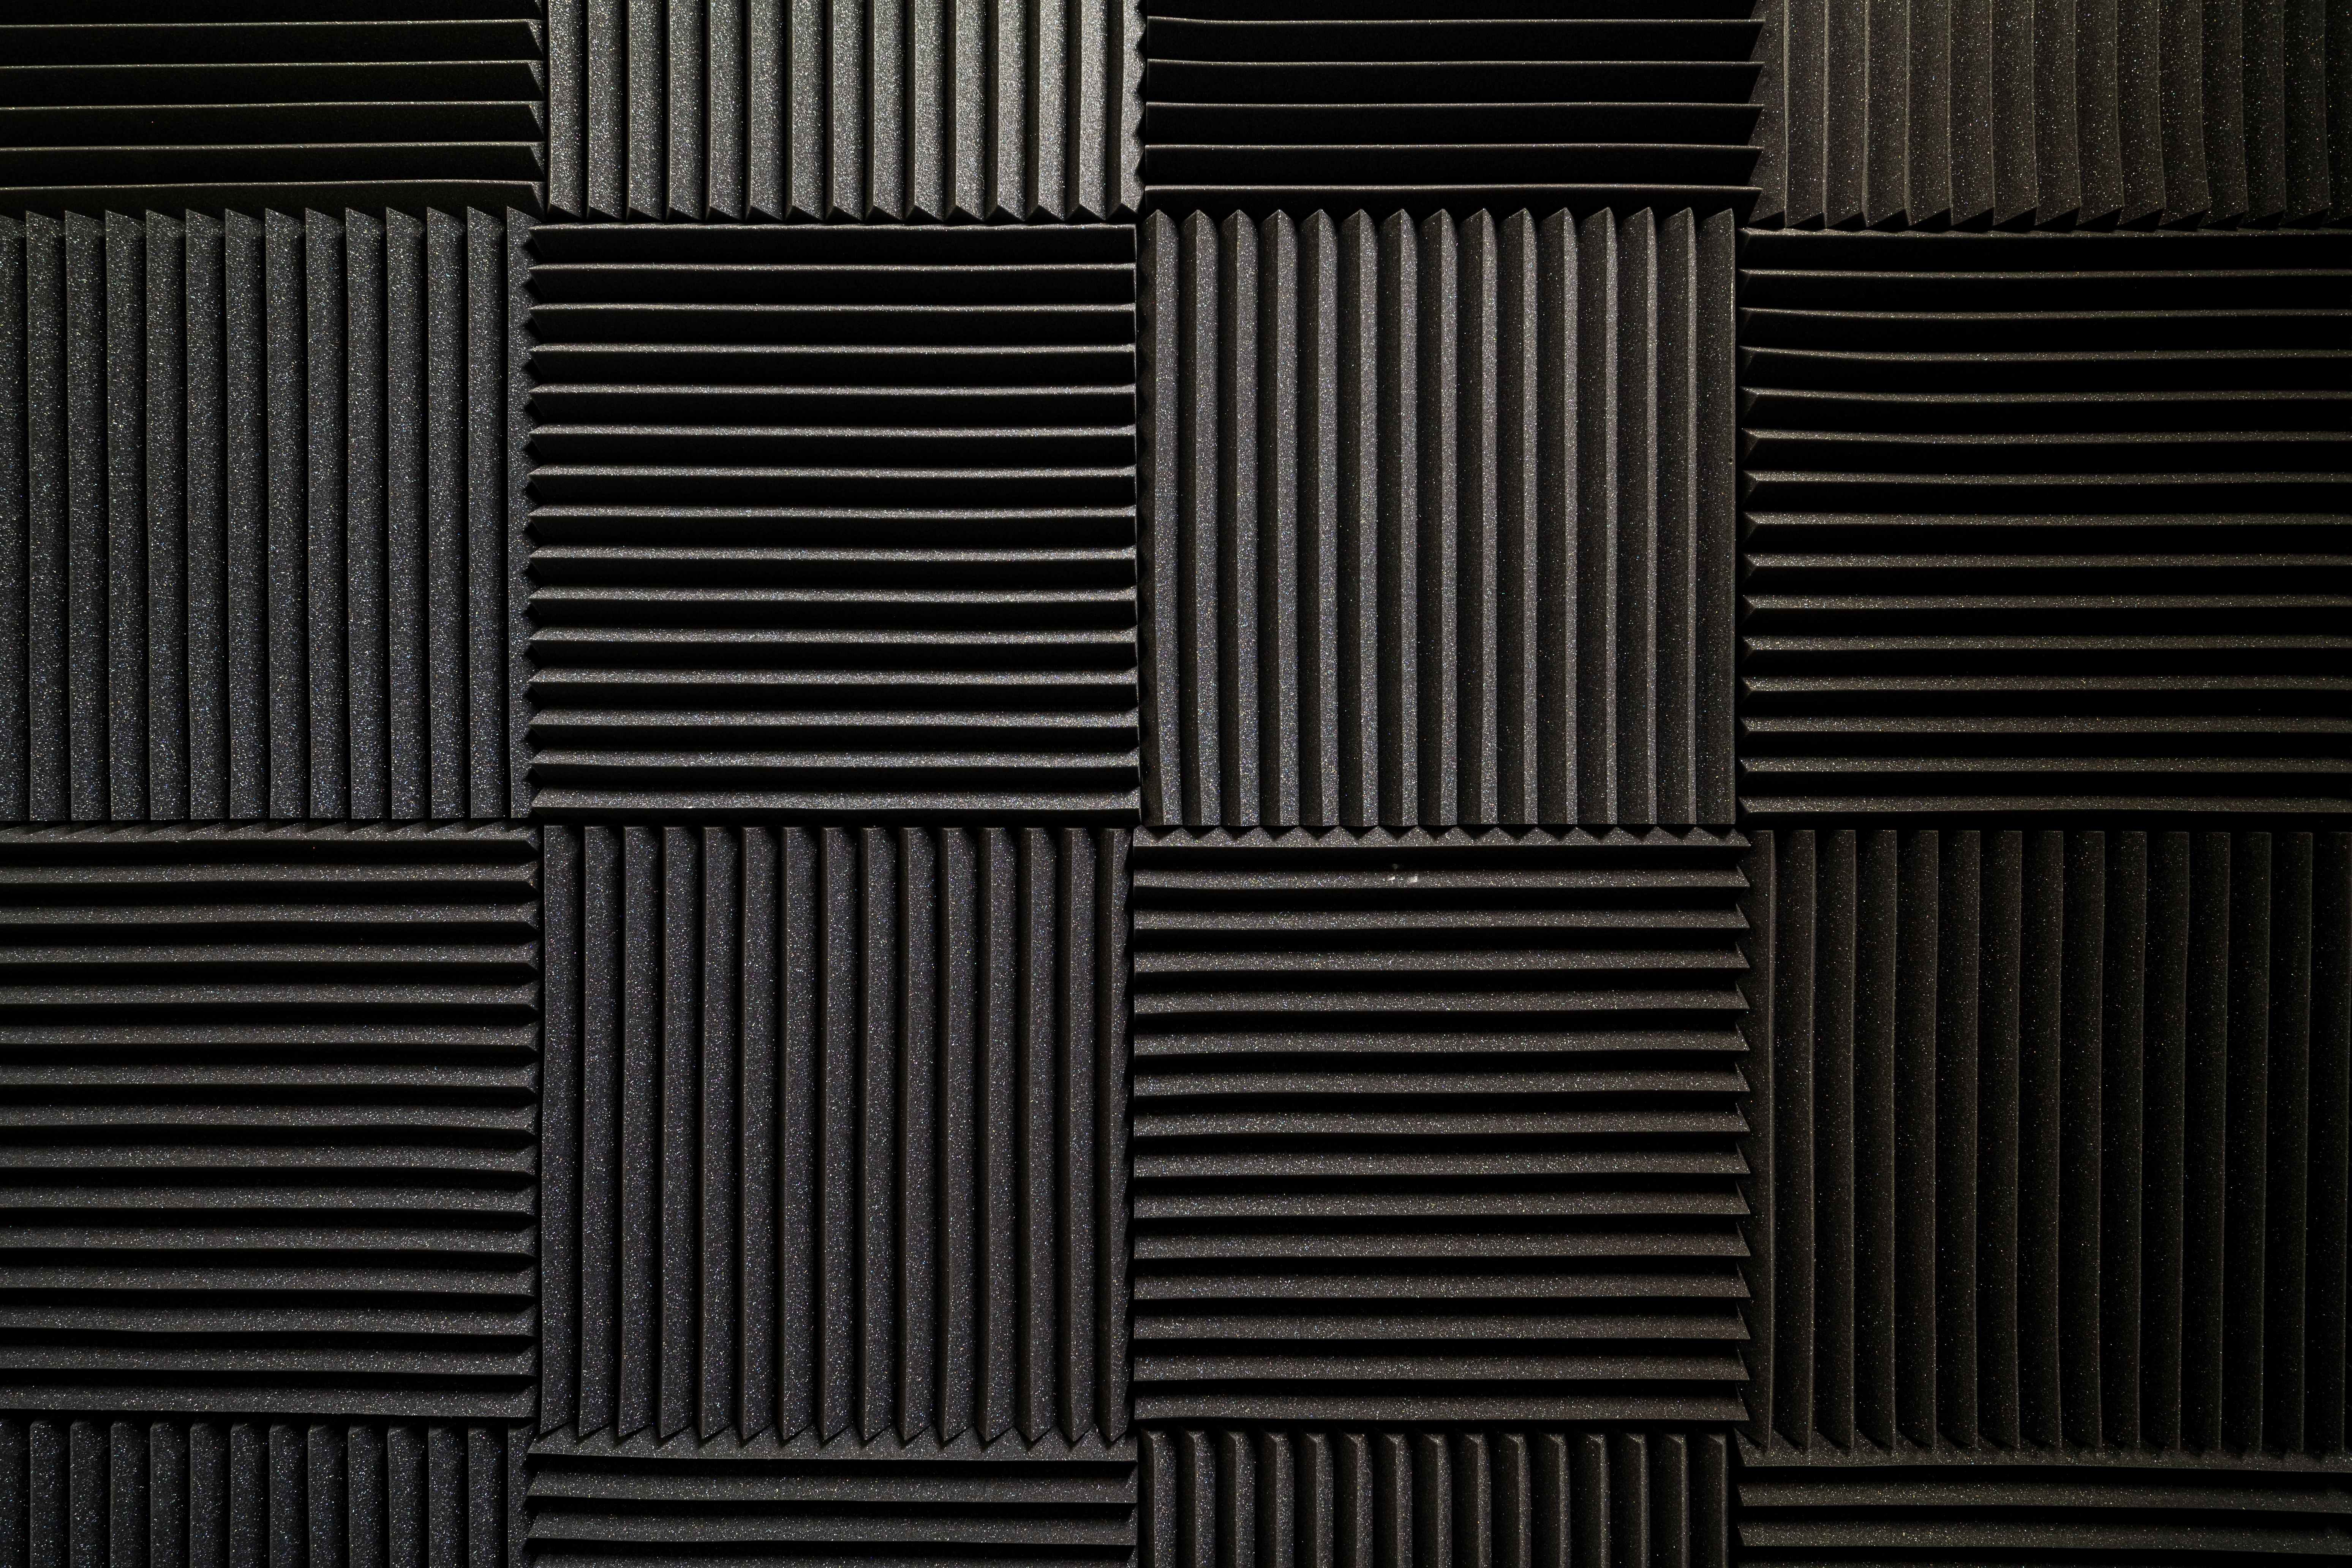
Install these panels on walls and ceilings where sound reflections are most problematic. The result is a noticeable reduction in echoes and improved sound clarity.
Bass Traps for Low Frequencies
Low frequencies can be particularly troublesome in home studios. Bass traps are specifically designed to absorb these frequencies, preventing them from muddying your recordings. You can make simple bass traps at home using similar materials as acoustic panels but with thicker insulation.
Position these traps in corners where bass tends to build up most. This strategic placement will help in taming those low-end frequencies and ensure a more balanced sound.
Diffusers for Sound Clarity
While absorption is crucial, diffusion also plays a significant role in enhancing sound quality. Diffusers scatter sound waves instead of absorbing them, which helps maintain a natural sound in the room. DIY diffusers can be made from uneven surfaces like bookshelves or custom-built wooden panels.
- Create depth variations on a wooden panel.
- Mount them on walls where direct reflections occur.
- Experiment with placement for optimal results.
Finishing Touches
After installing acoustic treatments, fine-tune your setup by experimenting with furniture placement and additional decorative elements. Items like rugs, curtains, and cushions can further assist in controlling sound reflections.
Remember, every room is unique, so what works for one space might not be as effective in another. Be patient and willing to make adjustments as needed. With these DIY acoustic treatment tips, you're well on your way to creating a home studio that not only looks great but sounds professional too.