DIY Studio Setup: Key Tips for New Music Producers


Understanding Your Space
Setting up a DIY studio can be an exciting yet daunting task for new music producers. The first step is to understand the space you have available. Consider the size of the room, its acoustics, and how you can optimize it for sound production. A small room may require different treatments compared to a larger one, and each will have its unique challenges.
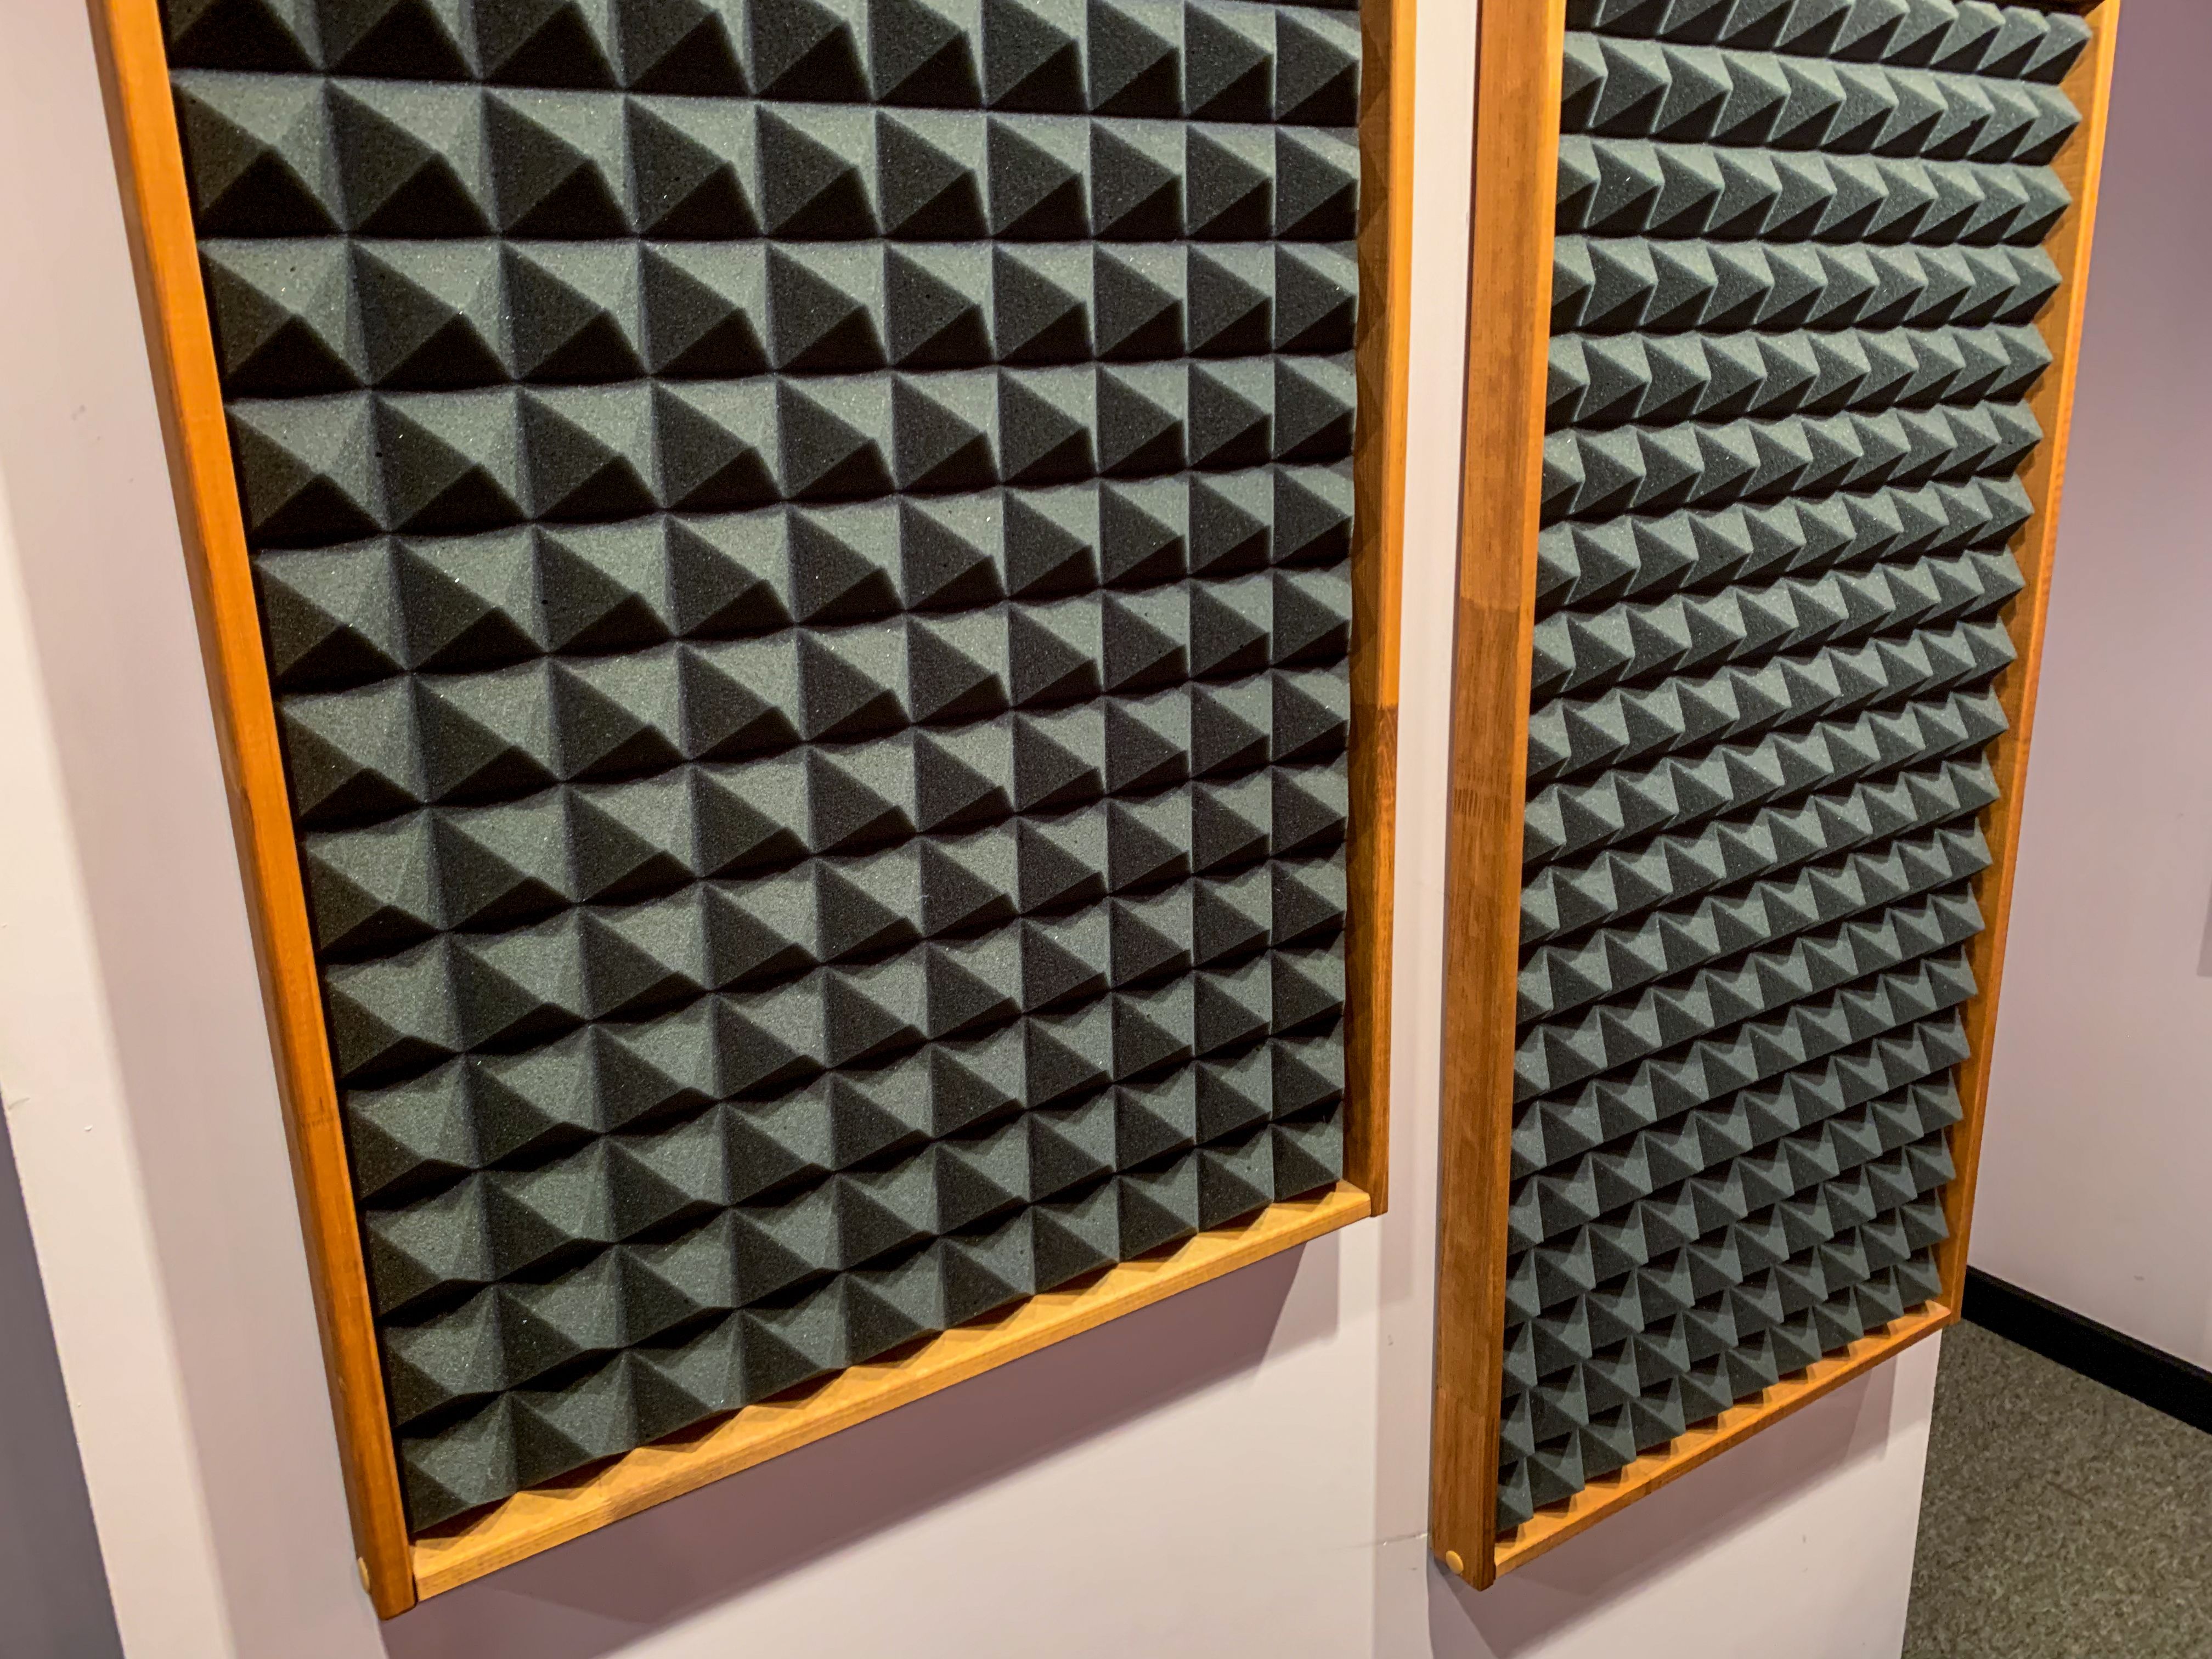
Start by analyzing the room for any unwanted noises or echoes. These can be minimized with soundproofing techniques such as adding carpets, curtains, or acoustic panels. It's crucial to address these issues early on to ensure that your recordings are as clean and professional as possible.
Choosing the Right Equipment
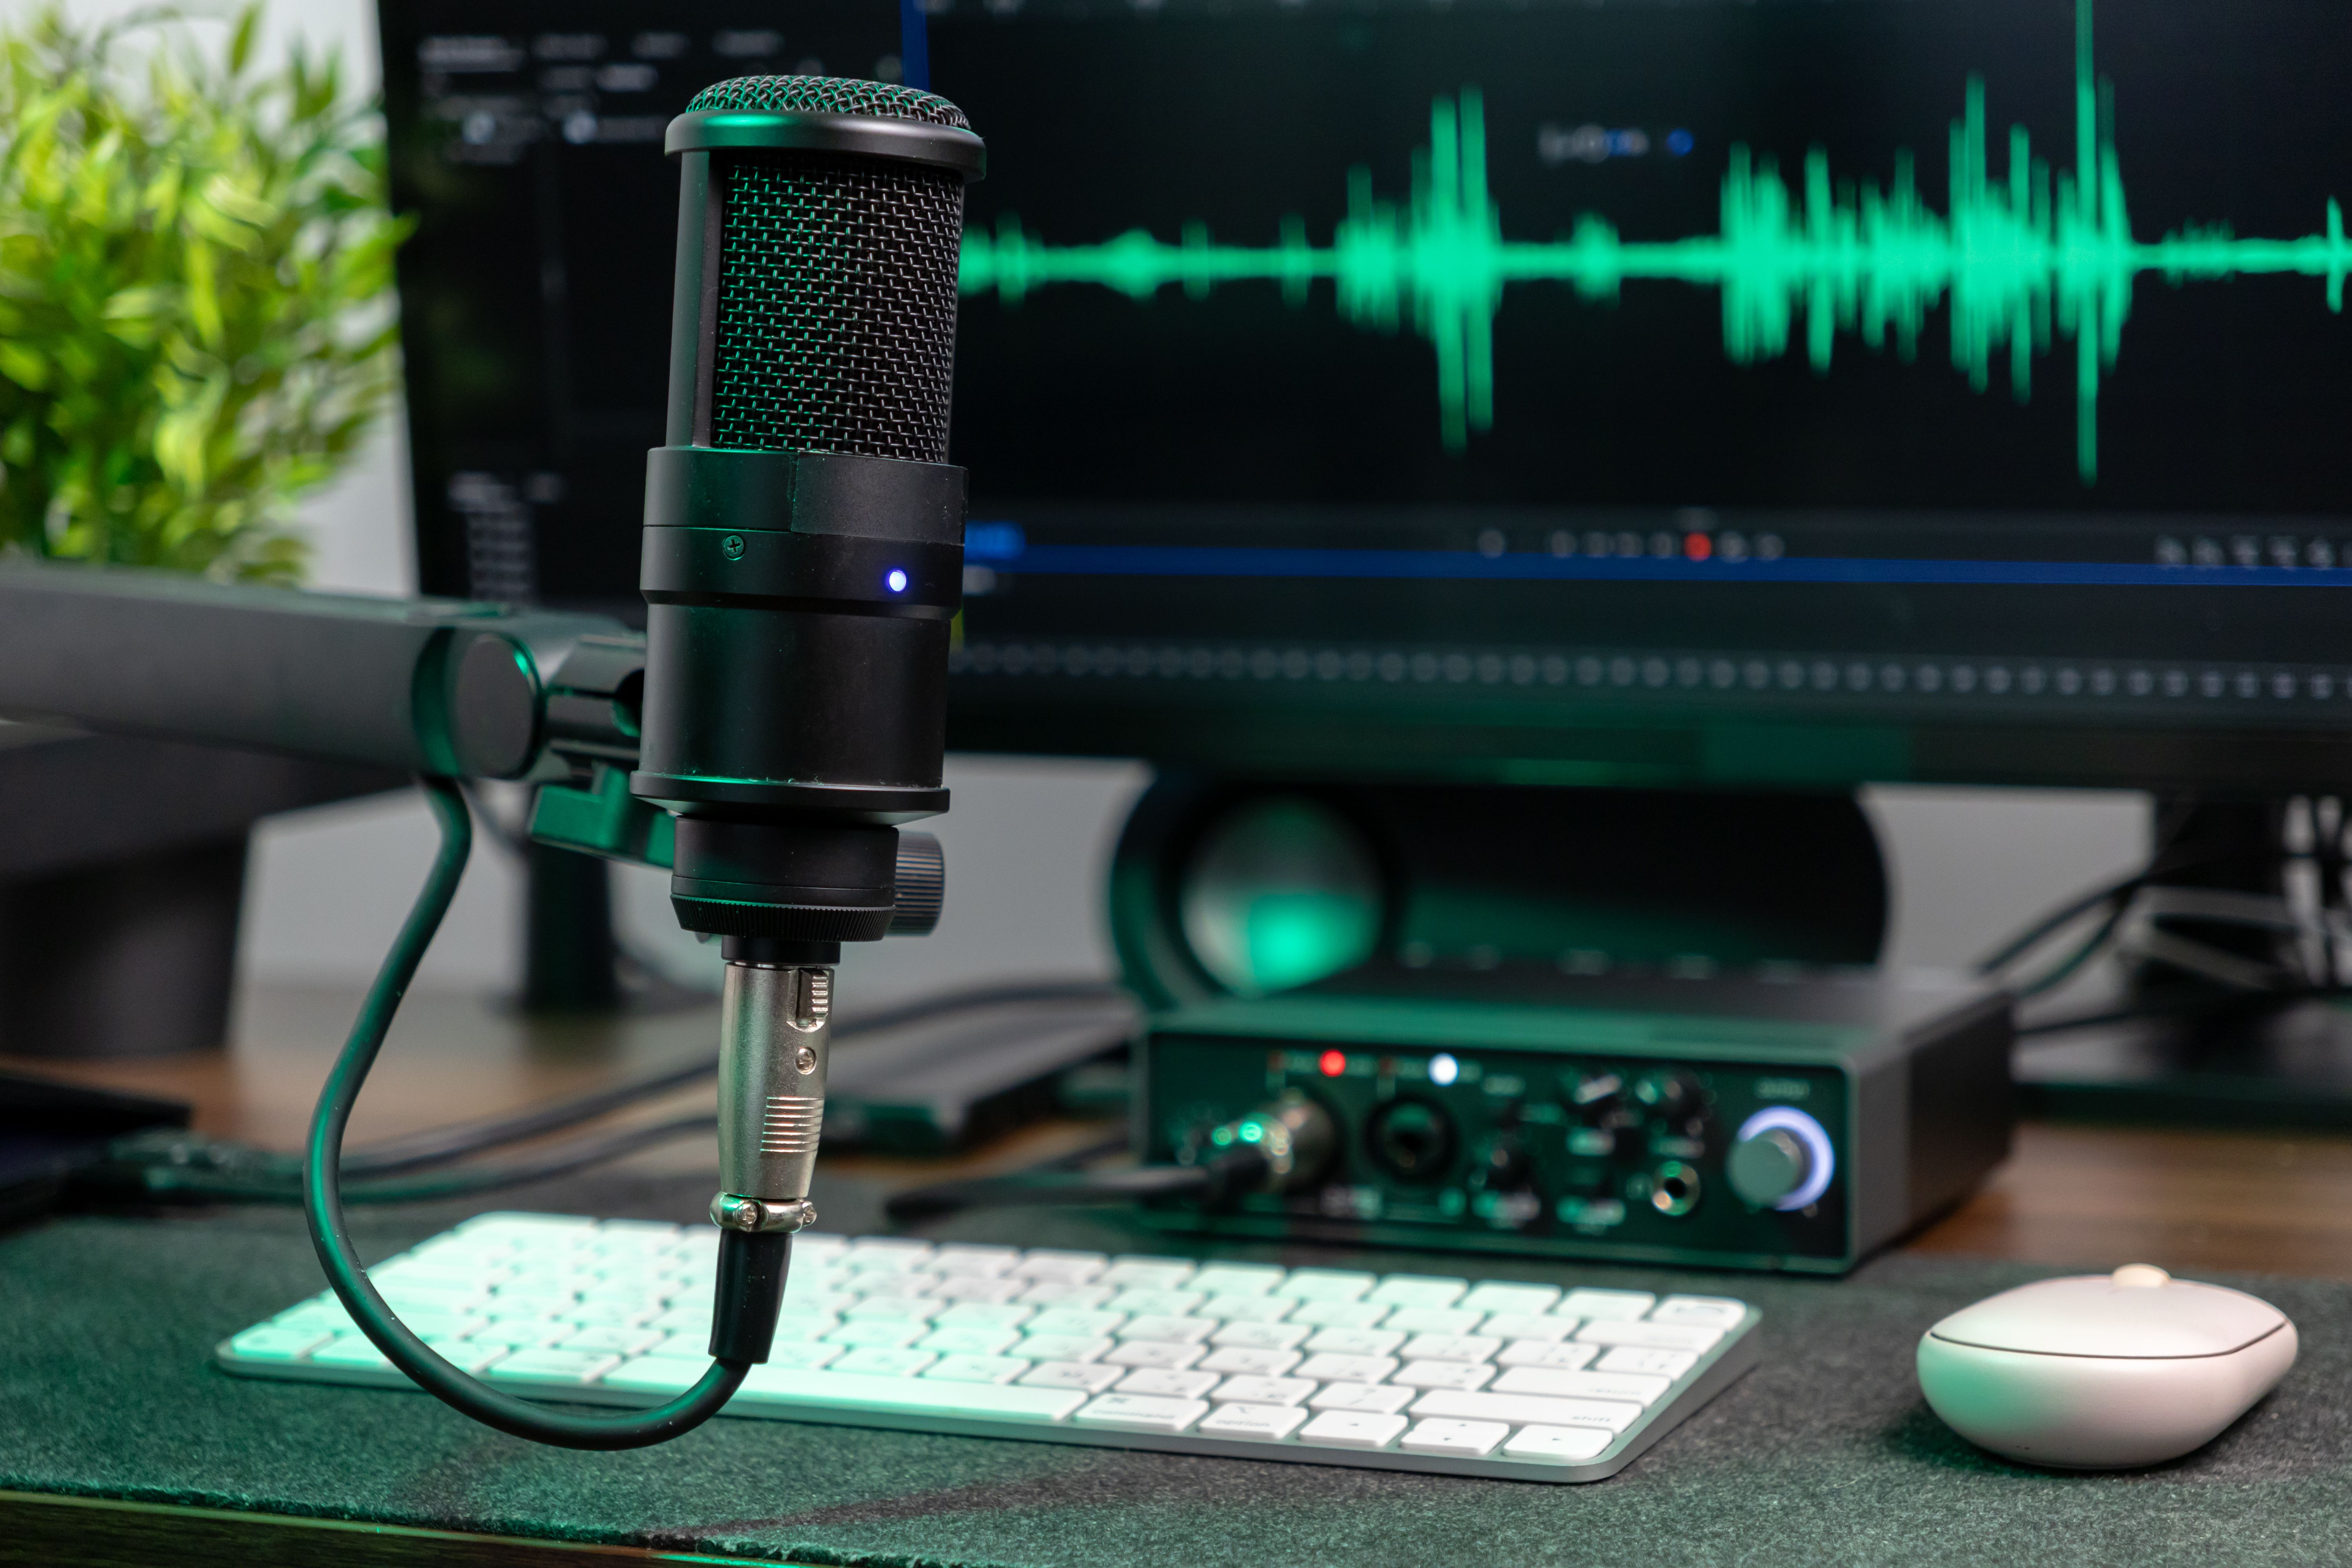
Once you have a good understanding of your space, it's time to choose the right equipment. As a new music producer, it can be tempting to splurge on high-end gear, but it's often more practical to start with the essentials. Here's a basic list of what you might need:
- Audio Interface: Connects your instruments and microphones to your computer.
- Microphone: A good-quality condenser microphone is a versatile choice.
- Studio Monitors: Accurate speakers that provide a flat response for mixing.
- Digital Audio Workstation (DAW): Software for recording, editing, and producing audio files.
Investing in quality over quantity is key when building your studio setup. Research and reviews can guide you in making informed decisions on what equipment best suits your needs.
Optimizing Acoustics
After acquiring your equipment, focus on optimizing the acoustics of your studio. Acoustic treatment is different from soundproofing; it aims to control sound reflections within the room, improving the quality of your recordings and mixes. Consider adding bass traps in corners to manage low-frequency sounds and panels on walls to absorb mid and high frequencies.
Experiment with the placement of these treatments to find what works best for your specific setup. Remember, every room is different, and what works for one may not work for another. It's a process of trial and error that will ultimately lead to a clearer and more precise audio experience.
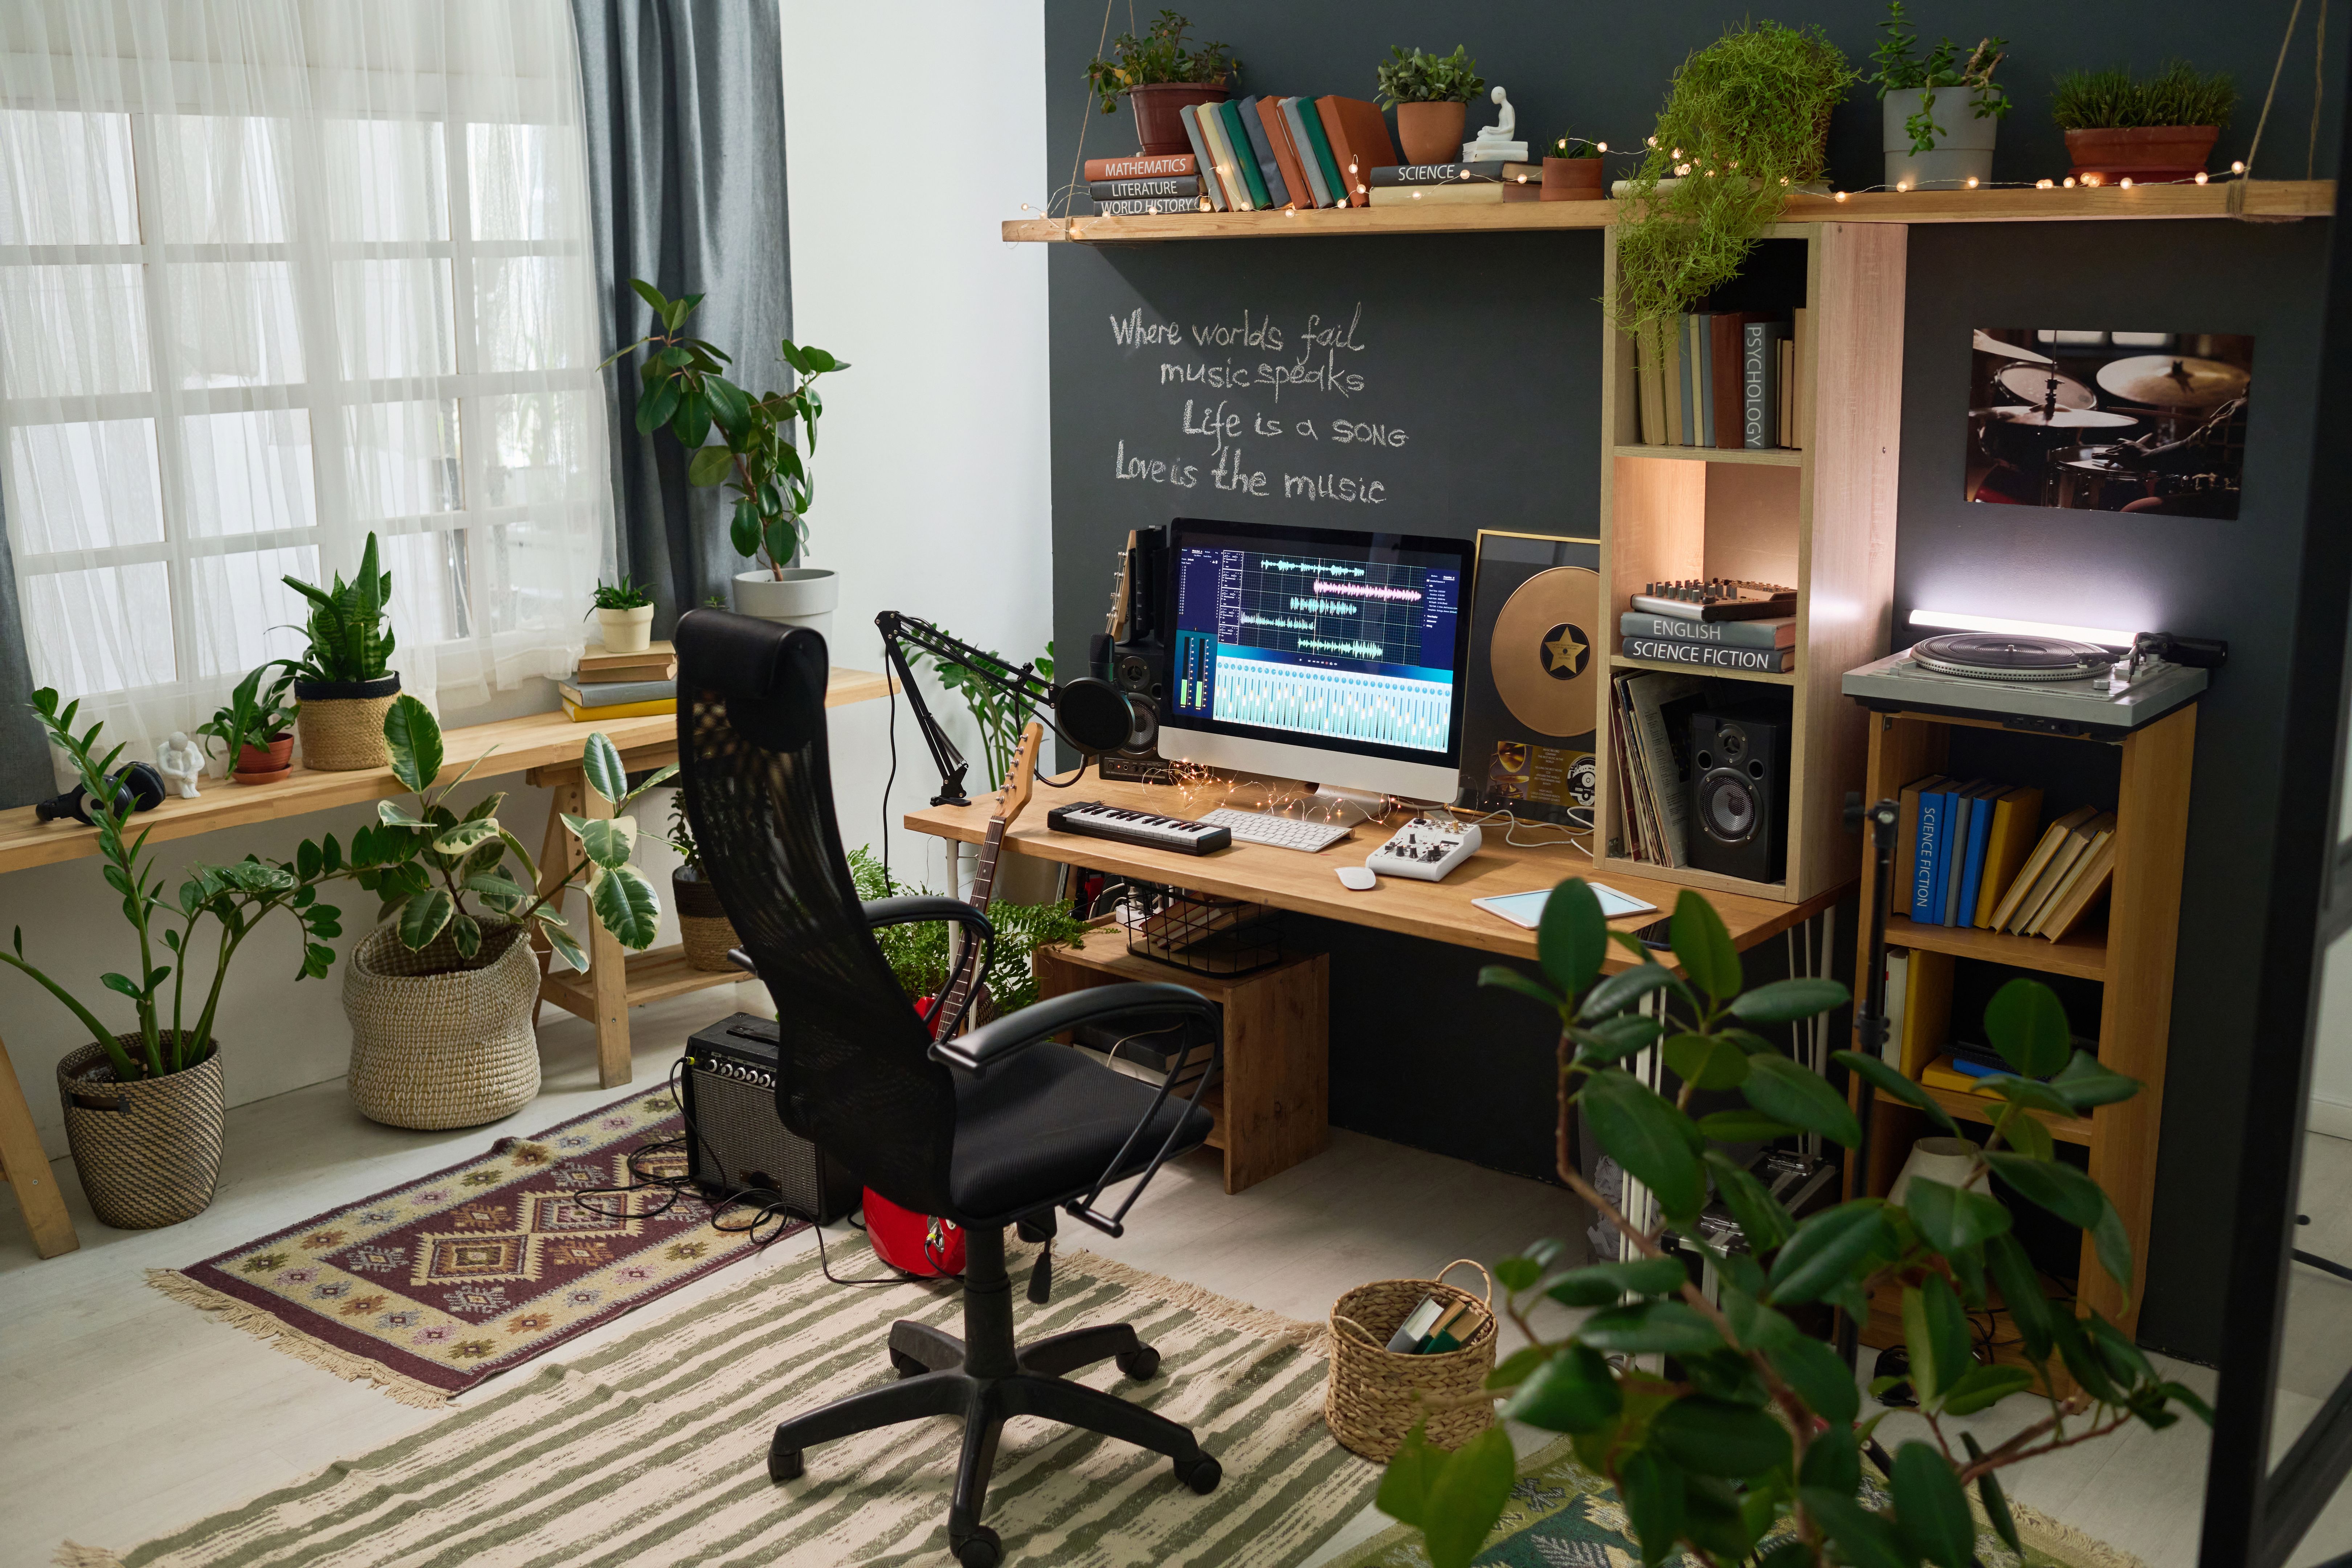
Cable Management and Ergonomics
A clutter-free workspace is essential for creativity and efficiency. Cable management is often overlooked but plays a significant role in maintaining an organized studio. Use cable ties or sleeves to keep cords neat and out of the way. This not only improves the aesthetics but also prevents accidents and prolongs the life of your cables.
Ergonomics is another important factor to consider. Arrange your desk, chair, and monitors in a way that promotes good posture and reduces strain during long recording sessions. An ergonomic chair and adjustable monitor stands can make a significant difference in your comfort and productivity.
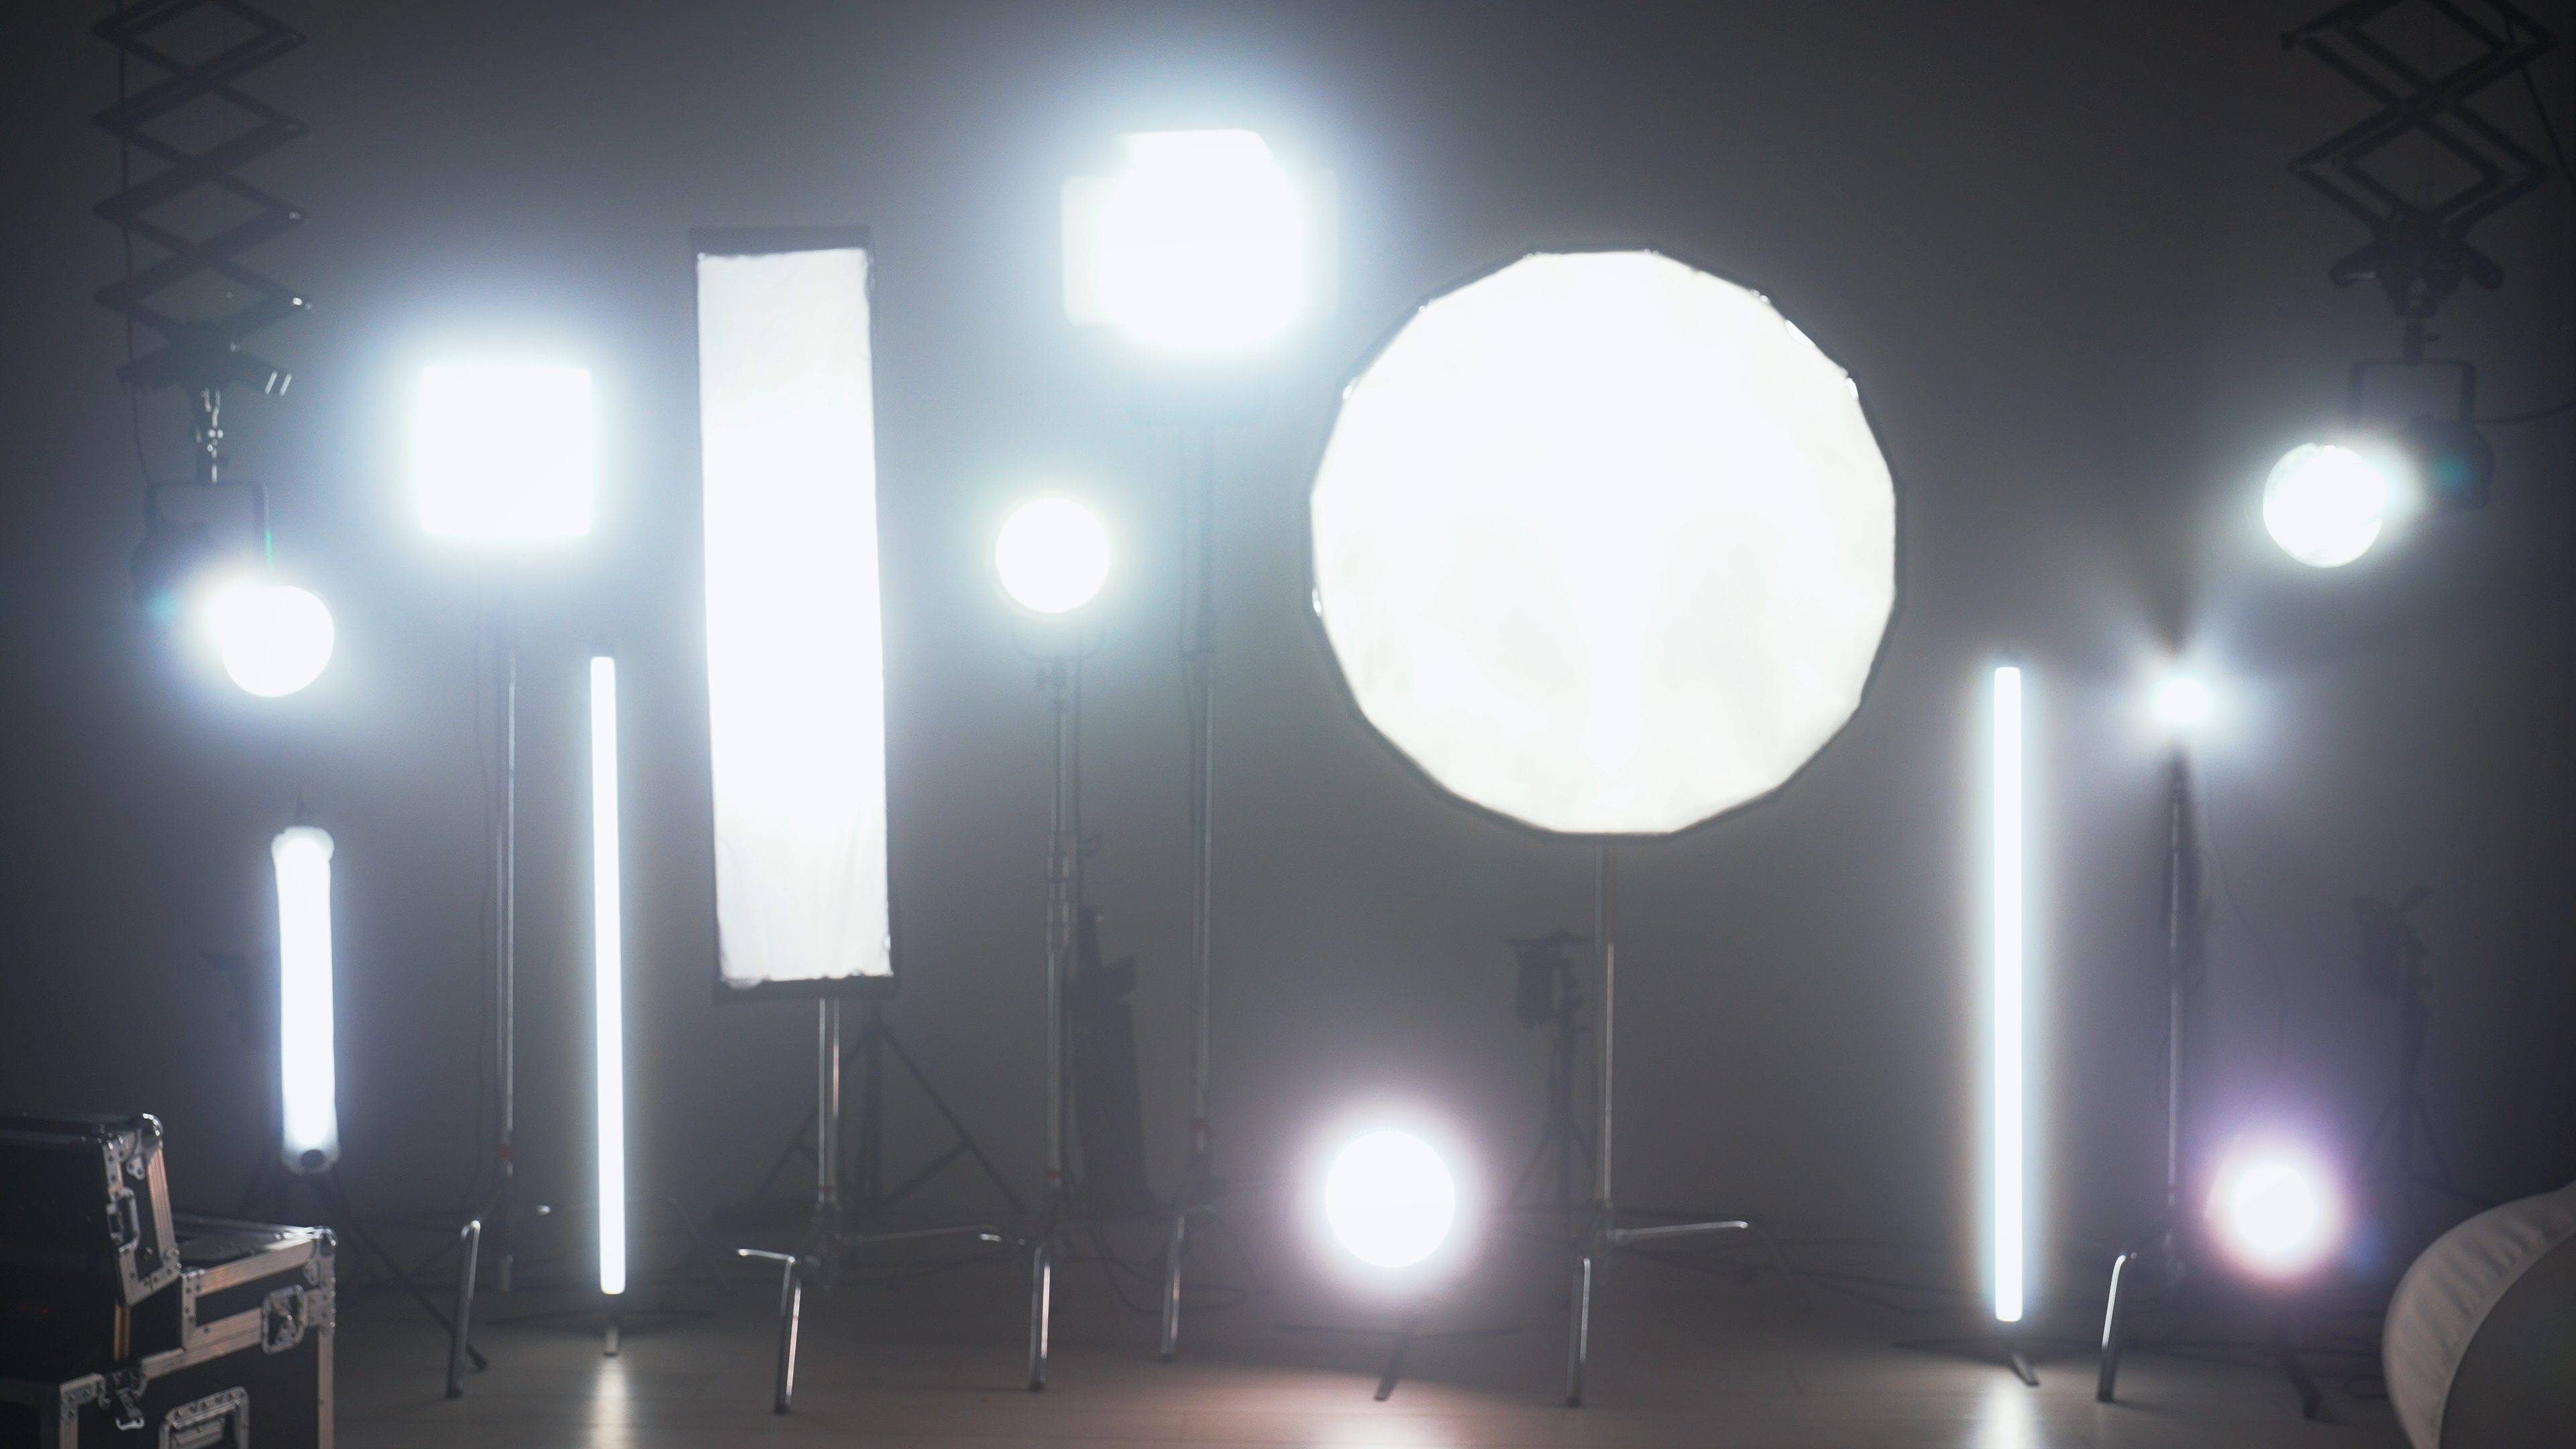
Lighting and Ambiance
The ambiance of your studio can greatly influence your creativity and mood. Proper lighting can set the tone for productive sessions. Consider using dimmable lights or smart bulbs that allow you to adjust the light according to different times of the day or moods. Soft, warm lighting might work well for relaxed evening sessions, while bright, natural light is ideal for daytime creativity.
A few personal touches, like artwork or plants, can also make your studio space feel more inviting and inspiring. Creating an environment where you feel comfortable can help unleash your creativity and enhance your productivity.
Testing and Adjustments
Finally, once your studio is set up, it's crucial to test everything thoroughly. Play back various tracks to check how they sound in the room. Listen for any inconsistencies or issues that may need addressing, such as unwanted frequencies or poor stereo imaging.
You might find that some adjustments are necessary over time as you get used to working in your new space. Be open to tweaking your setup as needed to get the most out of it. Remember, building a studio is an evolving process, and it's perfectly normal to make changes along the way.