
DIY Home Recording Studio: Step-by-Step Setup Guide


Introduction
Creating your own DIY home recording studio can be an exciting and rewarding project for any music enthusiast. Whether you're a budding musician, a podcaster, or simply someone who loves to tinker with audio, setting up a studio at home allows you to craft your sound in your own space. In this guide, we'll take you through the essential steps to set up your very own home recording studio.
Choosing the Right Space
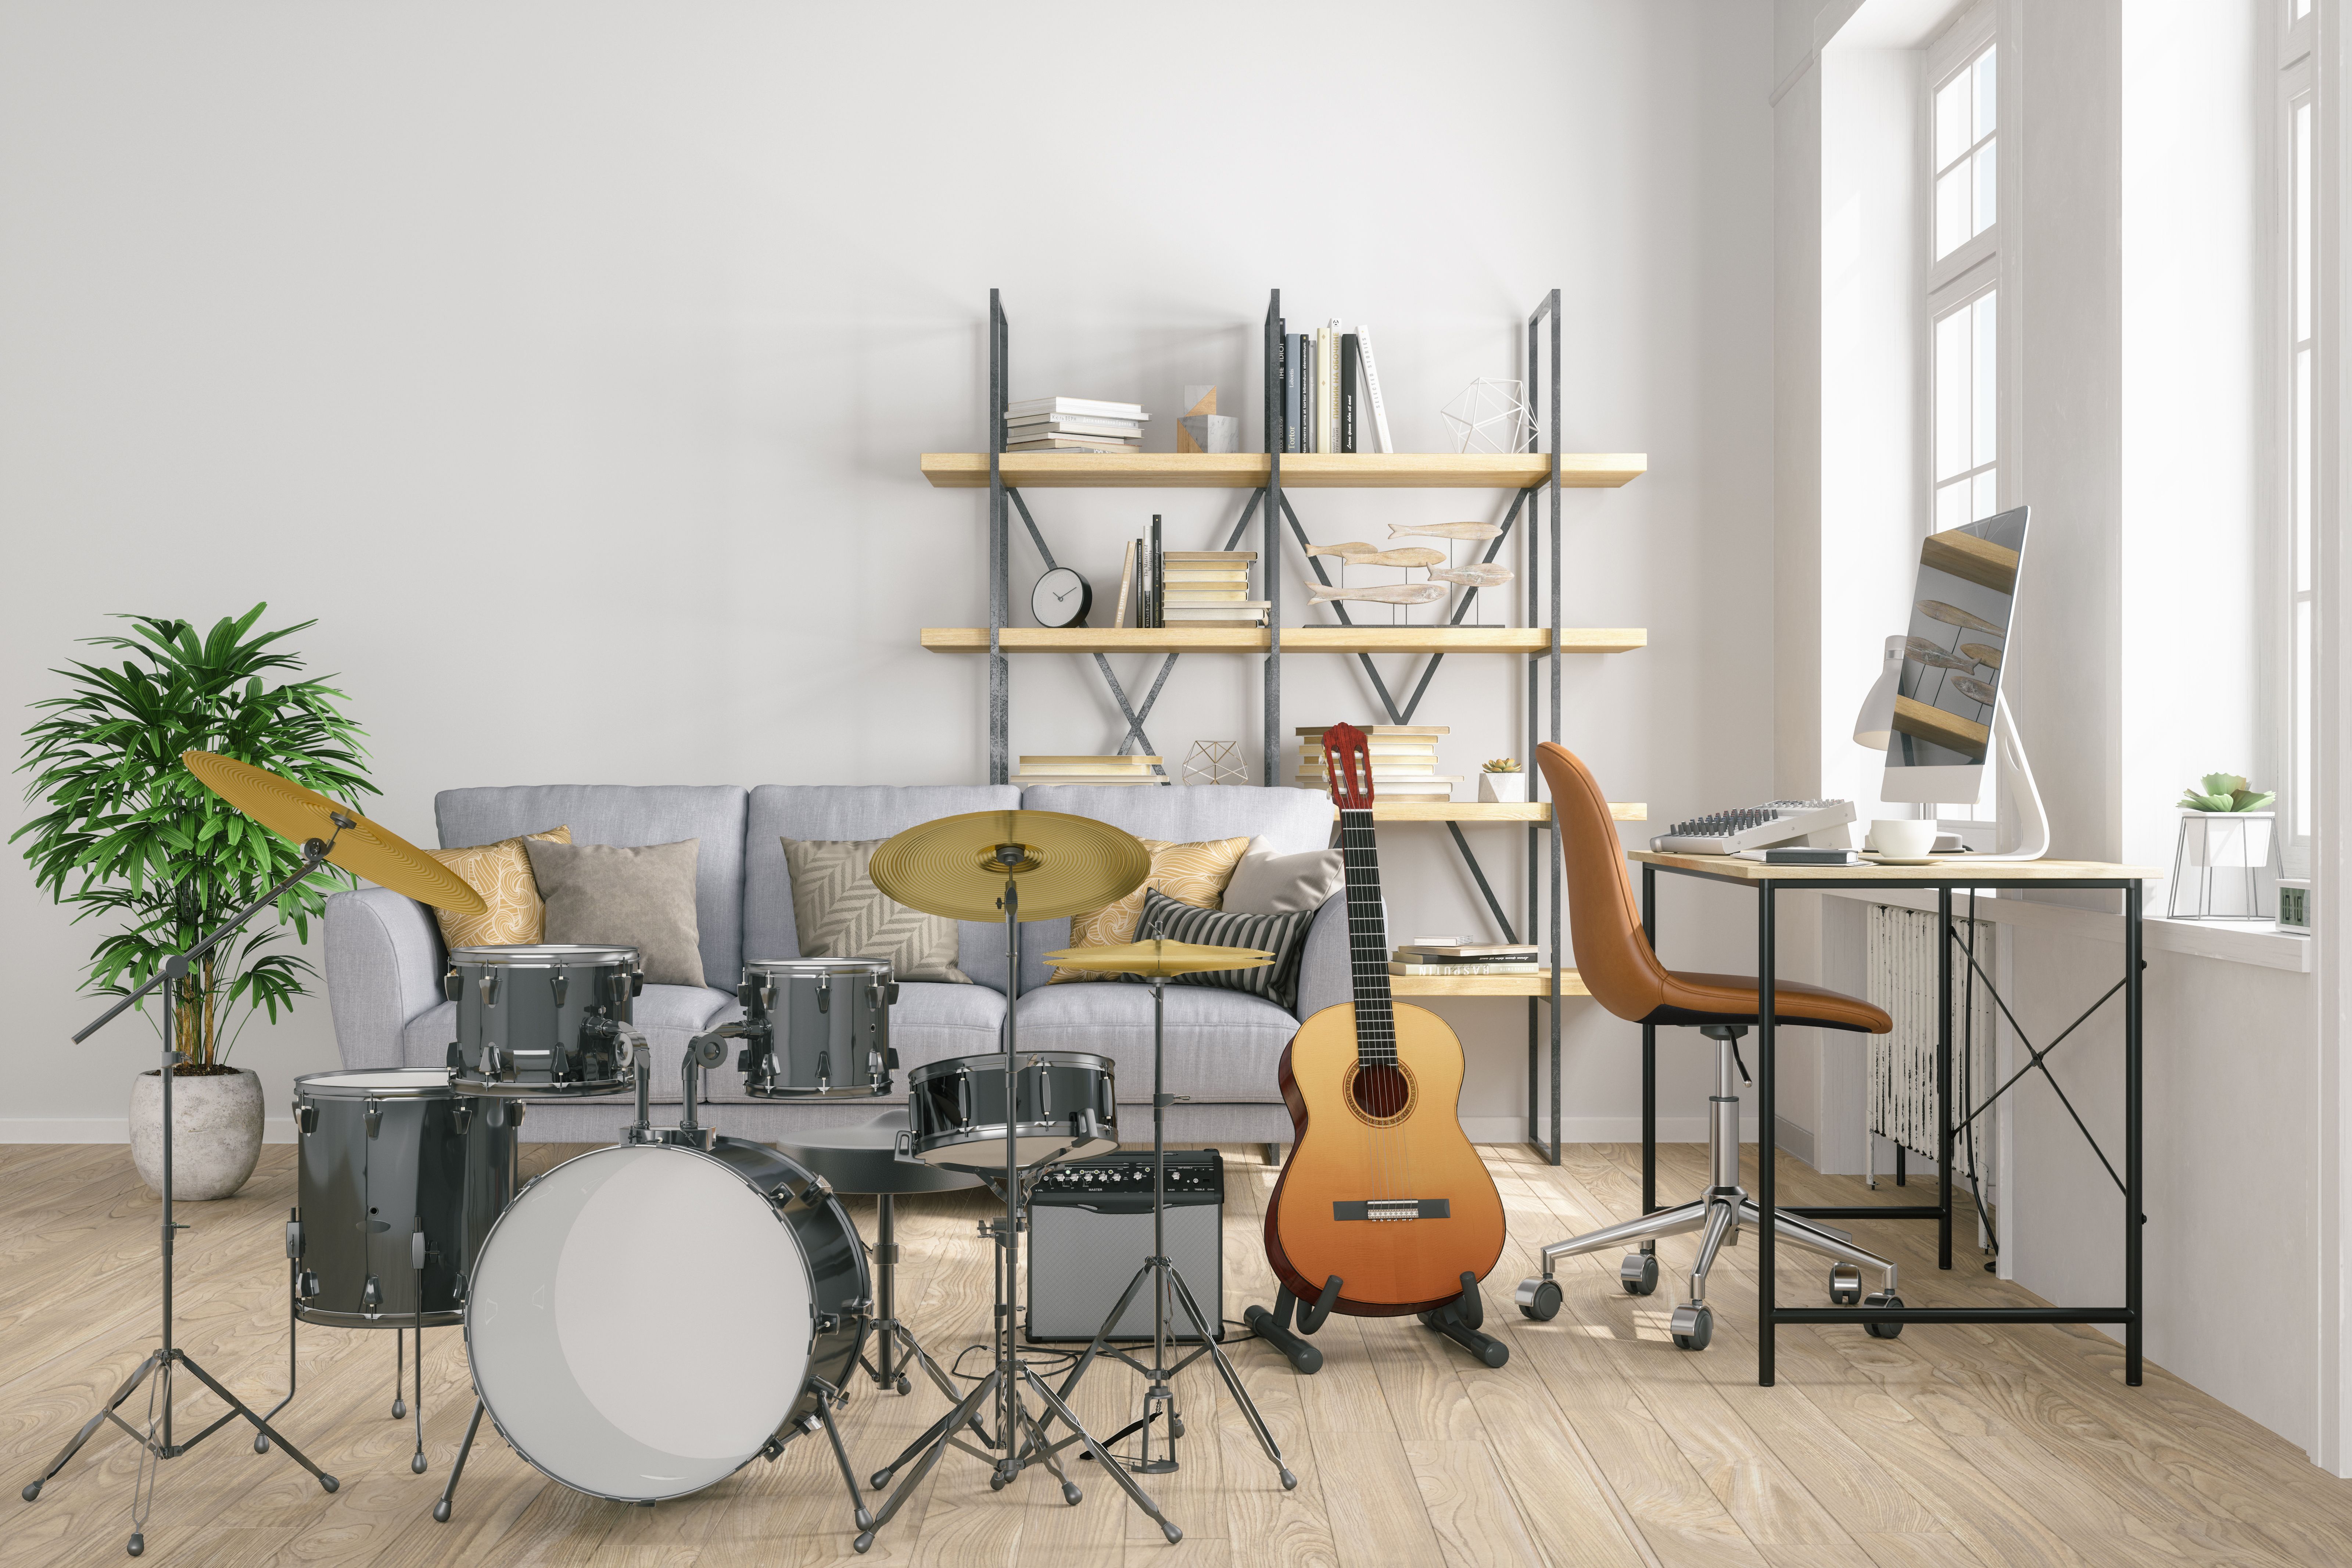
The first step in building your home recording studio is selecting the right space. Ideally, you want a quiet room with minimal external noise. Consider using a spare bedroom, basement, or even a large closet. The key is to find a space where you can control the acoustics and minimize interruptions.
Once you've chosen your space, think about soundproofing. You don't need to spend a fortune; simple solutions like heavy curtains, carpets, and foam panels can make a big difference. The goal is to create an environment where sound is absorbed and not reflected.
Essential Equipment
Before diving into specific gear, it's important to understand what's essential for a basic setup. Here's a list of the key components you'll need:
- Computer: The heart of your studio, used for recording, mixing, and editing.
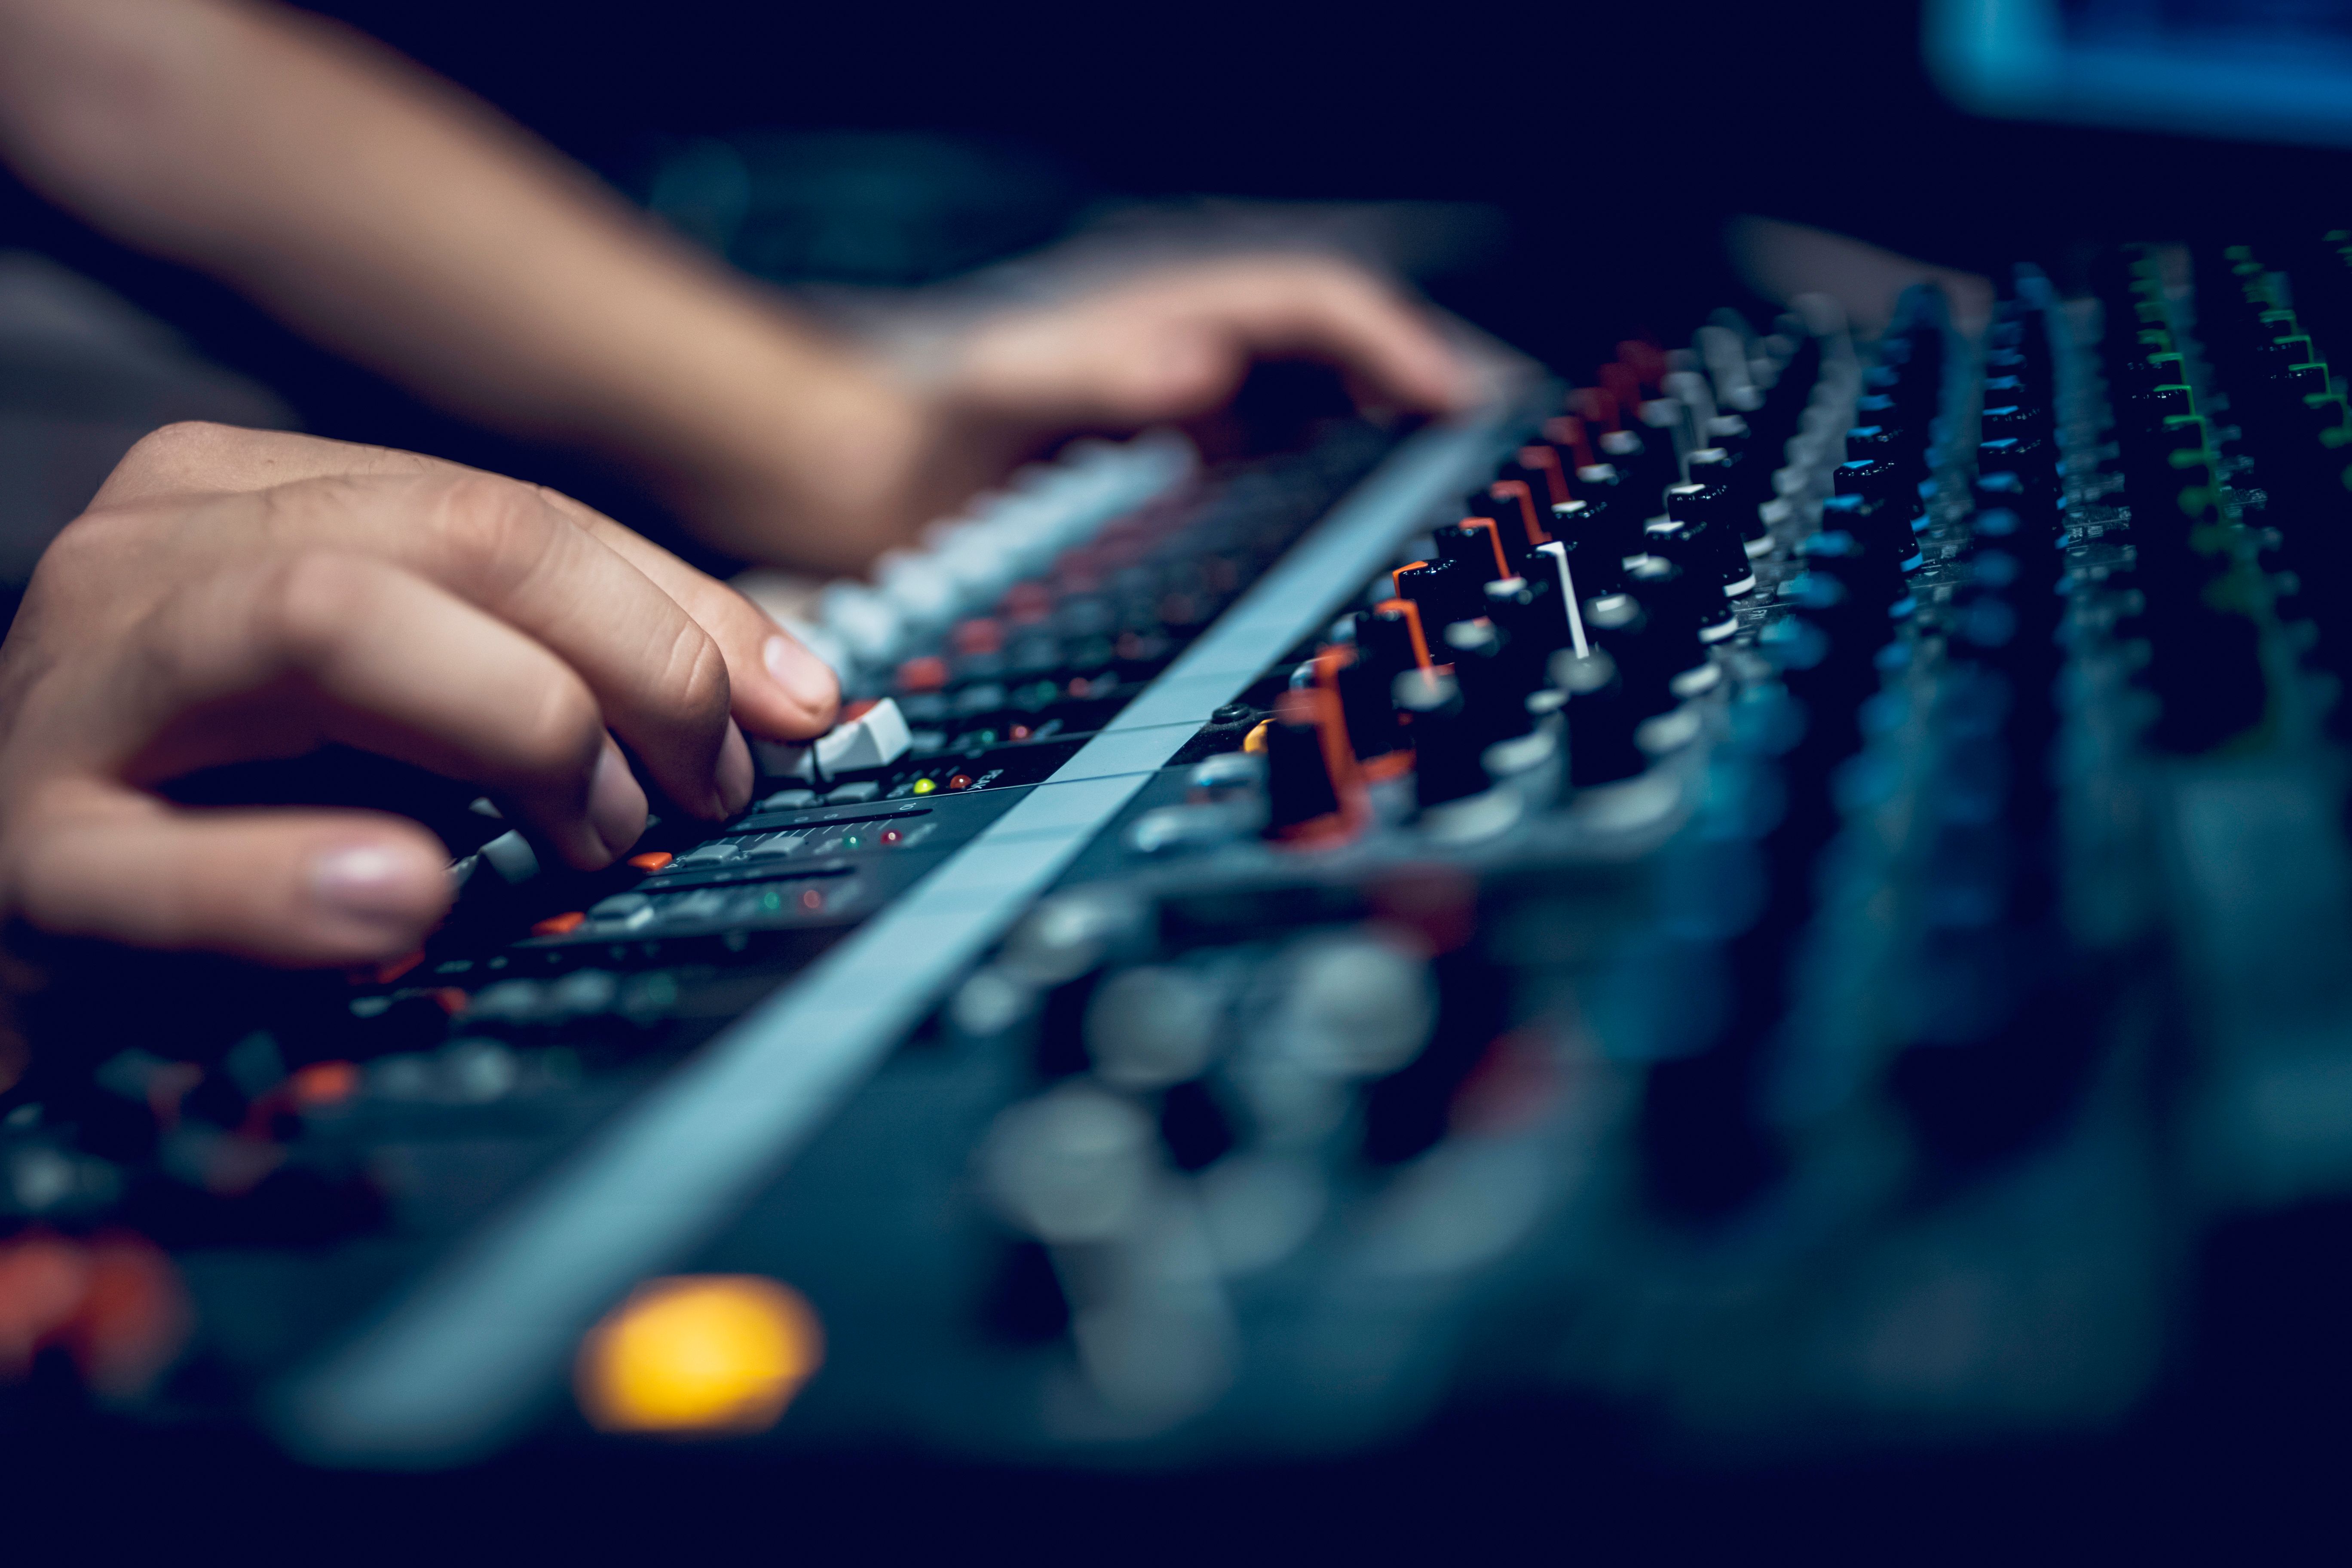
- Audio Interface: Connects your microphones and instruments to the computer.
- Microphones: Choose based on your needs – dynamic mics for vocals or condenser mics for acoustic instruments.
- Headphones: Closed-back headphones are ideal for monitoring during recording sessions.
- Studio Monitors: Essential for accurate playback and mixing.
Software Selection
With your hardware ready, the next step is to choose the right software. Digital Audio Workstations (DAWs) are essential for recording and editing audio. Popular options include Ableton Live, Logic Pro, Pro Tools, and FL Studio. Choose a DAW that suits your workflow and budget. Many offer free trials, so you can test them out before committing.
Setting Up Your Gear
Once you have all your equipment and software, it's time to set everything up. Begin by connecting your audio interface to the computer. Most interfaces connect via USB or Thunderbolt. Next, plug in your microphones and instruments into the interface.
Position your studio monitors at ear level and form an equilateral triangle between the monitors and your listening position. This setup helps achieve an accurate stereo image while mixing.
Acoustic Treatment
Acoustic treatment is crucial for achieving high-quality recordings. Start by placing foam panels at key reflection points on walls and ceilings to reduce echo and reverb. Bass traps in corners can help manage low-frequency build-up. Remember, the goal is not to completely deaden the room but to create a balanced sound environment.
Testing and Calibration
After setting everything up, it's important to test and calibrate your equipment. Play reference tracks to familiarize yourself with how they sound in your space. Adjust speaker placement if necessary, and make sure your audio interface settings are optimized for recording.
Conclusion
Building a DIY home recording studio is a journey that combines creativity and technical skills. By carefully selecting your space, investing in essential equipment, and fine-tuning your setup, you can create a personal studio where you can produce professional-quality recordings. Remember that continuous learning and experimentation are key to mastering the art of home recording.